¶ Purpose
The purpose of the Generate Invoice XML screen is to enable users to create an XML file for selected invoice/s, which can then be used for electronic submission, processing or integration with other systems and accounting software.
¶ Prerequisites
The Invoice transactions must be completed before the Generate Invoice XML transaction.
¶ Read Forms
The Master/ Form Wizard screen allows the user to upload XML files and create new forms.
Navigation: Login → Tools → Form Wizard → Master Form Wizard
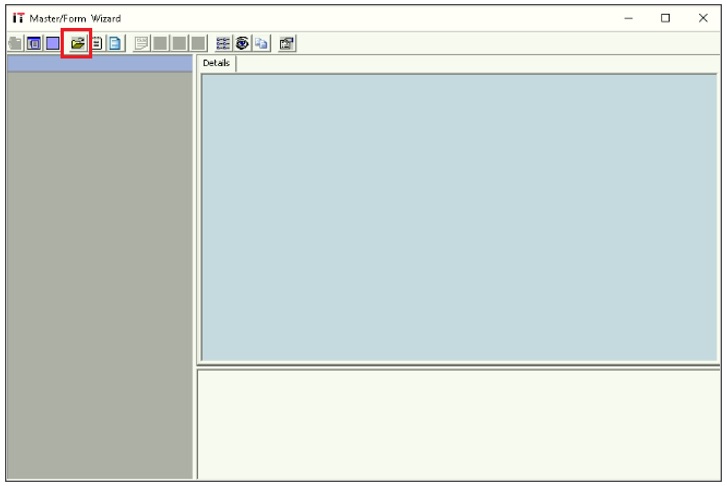
- Click the Folder icon, the following screen will appear.
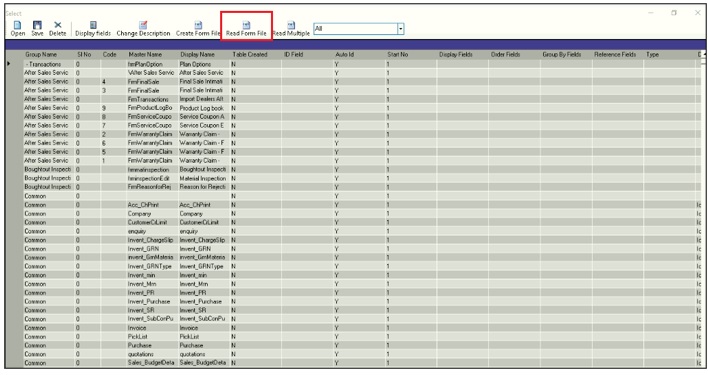
- Click Read From file, to upload the appropriate XML file.
- Once the user uploads the appropriate XML file, the following message will appear.
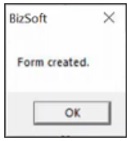
Note: The user must upload the BizSoft Form – Invoice XML file from the IcSoft Setup folder.

¶ Execute Script
The user must copy and paste the Alter SP Script in the SQL. Execute the script.

- The user must copy and paste the Shipping and Shipping. pdb files in the IcSoft Setup folder.
¶ Invoice XML Generation
The Invoice XML screen allows the user to generate the XML file for selected invoices.
Navigation: Main – Menu → Transactions → Shipping → Shipping Entries → Shipping → Show List → Tools → Invoice XML Generation

- The Invoice XML screen enables the user to search for a particular Invoice XML based on the From, To, Export To, Invoice Type, Sale Type and Customer.
- The user can select the appropriate From, To, Export To, Invoice Type, Sale Type and Customer from the drop-down list.
- Click Refresh, the screen will appear as shown below.
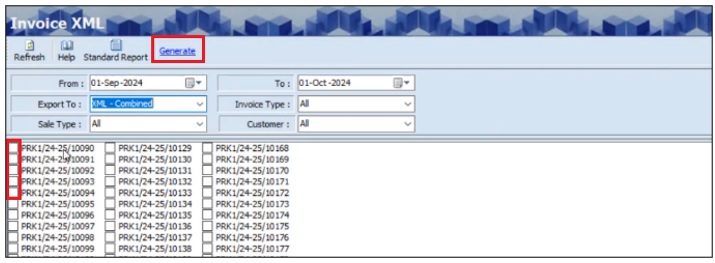
- The Invoice XML screen displays the reference numbers of the invoices.
- The user can select the checkbox for the appropriate Invoice.
- The user can select multiple checkboxes.
- If the user selects the Export To as XML Single, for selected invoices, separate XML files will be generated.
- If the user selects the Export To as XML Combined, for selected invoices only a single XML file will be generated.
- Click Generate, to save the xml file and the following message will appear.
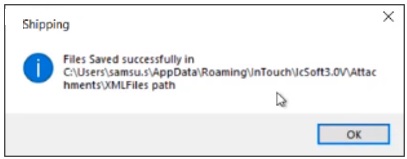
- The above message displays the location of where the XML files are saved.
- The user must copy the XML file from the XML Files folder to the Tally Prime folder.
¶ Upload XML File – Tally Prime
The Import Transactions screen allows the user to upload the generated XML file.
Navigation: Login → Import → Transactions
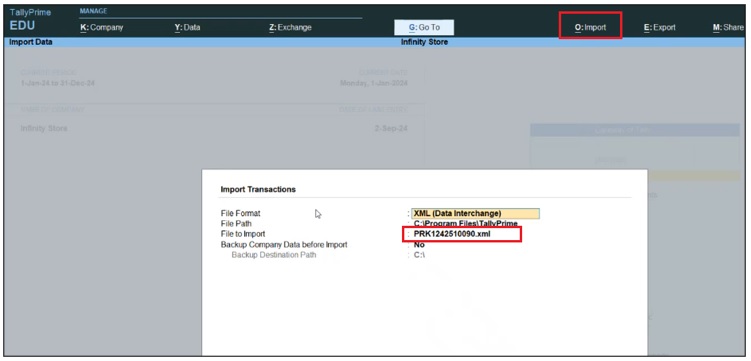
- The user must select the appropriate file from the List of Files.

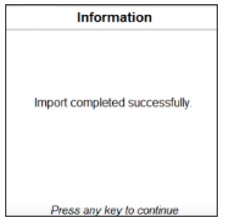
- Once the user selects the appropriate file, the following message will appear.
Note: The Master (Sales Ledger, Party Ledger, GST Ledger, Item Master, UOM) must be the same for both the ERP and Tally, otherwise the Tally will display the message to create new masters.
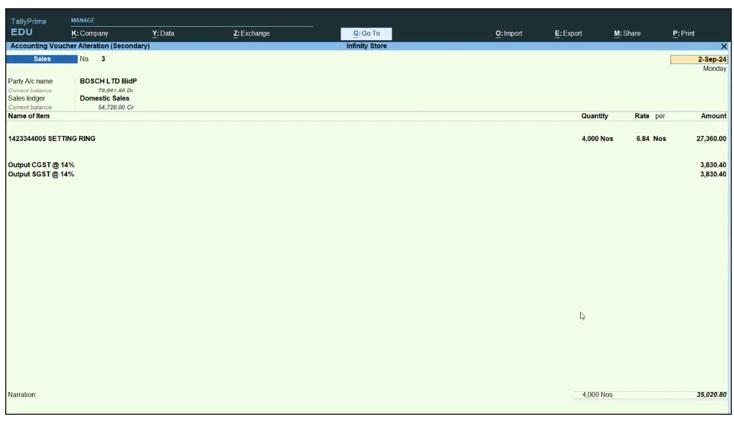
¶ View Invoice Details
The Sales Register screen allows the user to view uploaded invoice details.
Navigation: Login → Gateway of Tally → Display More Reports → Account Books → Sales Register
¶ Functional Use Cases
| Sl. No. | Use Case | Business scenario | Functional outcome |
|---|---|---|---|
| 1 | Generate invoice XML file | The user needs to create an XML file from completed invoice transactions for external or electronic use. | The system lets the user search invoices (by date, export format, invoice type, sale type, and customer), select one or more, choose “XML Single” or “XML Combined,” generate the file(s), and then shows the file save location. |
| 2 | Read forms via Master Form Wizard | The user must upload a form XML file before using the Invoice XML feature. | The user opens the Form Wizard, uploads the BizSoft Form – Invoice XML from the IcSoft Setup folder, and receives a confirmation message. |
| 3 | Execute setup scripts | The user needs backend script support before generating XML files. | The user pastes the Alter SP script into SQL and copies Shipping.pdb and Shipping.* files into the IcSoft Setup folder. |
| 4 | Upload XML to Tally Prime | After generating the XML, the user must import it into Tally Prime for processing. | The user goes to Tally Prime → Import → Transactions, selects the XML file, and receives a confirmation. The ERP and Tally masters (ledgers, items, etc.) must match. |
| 5 | View invoice in Tally Sales Register | The user wants to verify the imported invoice data in Tally. | The user opens Tally’s Sales Register under Gateway of Tally → Account Books → Display More Reports to see the uploaded invoice details. |
¶ Use Case Scenario
- Click here for a detailed use case scenario.
¶ Transaction Checklist
| SL. No. | Step | Checklist Item | Details / Purpose |
|---|---|---|---|
| 1 | Invoice Completion | Ensure all invoice transactions are completed | Required before generating XML to avoid missing or incomplete data |
| 2 | Script Execution | Execute the Alter SP Script in SQL | Update database structure to support XML generation |
| 3 | File Preparation | Copy Shipping and Shipping.pdb files to IcSoft Setup folder | Ensure required files are available for XML generation |
| 4 | Form Wizard Setup | Upload BizSoft Form – Invoice XML via Master Form Wizard | Enable form creation and XML template recognition |
| 5 | XML Upload | Use Read From File to upload the XML form | Load the correct XML template for invoice processing |
| 6 | XML Screen Access | Navigate to the Invoice XML Generation screen | Access the tool to generate invoice XML files |
| 7 | Filter Selection | Select From, To, Export To, Invoice Type, Sale Type, Customer | Filter invoices to include in the XML file |
| 8 | Invoice Selection | Select invoice checkboxes | Identify which invoices to include in the XML file |
| 9 | Export Format | Choose XML Single or XML Combined | Determine whether to generate separate or combined XML files |
| 10 | File Generation | Click Generate to create XML file | Save the XML file to the designated XML Files folder |
| 11 | File Location | Note the XML file save location | Locate generated files for transfer to Tally Prime |
| 12 | File Transfer | Copy XML file from XML Files folder to Tally Prime folder | Prepare the file for import into Tally Prime |
| 13 | Tally Import | Use Import Transactions screen in Tally to upload file | Import generated XML into Tally for accounting integration |
| 14 | Master Validation | Ensure ERP and Tally masters match | Prevent import errors and avoid creating duplicate masters |
| 15 | Invoice Review | View uploaded invoice details in Tally Sales Register | Confirm successful upload and verify invoice data |