¶ Purpose
The Chart of Accounts screen allows users to define and manage account groups and account details under specific financial categories. It helps organize financial transactions systematically, ensuring accurate bookkeeping and streamlined financial reporting across the IcSoft ERP system. It is also known as the GL Master.
¶ Prerequisites
- Access rights must be assigned to the responsible user for the Chart of Accounts.
¶ Chart of Accounts
The Chart of Accounts screen allows the user to add an Account Group and Account Details (Ledger Name) under a particular group or group type.
Navigation: Main – Menu → Transactions → Finance → Finance Entries → Finance → Financial Year Selection → Show List → Masters → Chart of Accounts
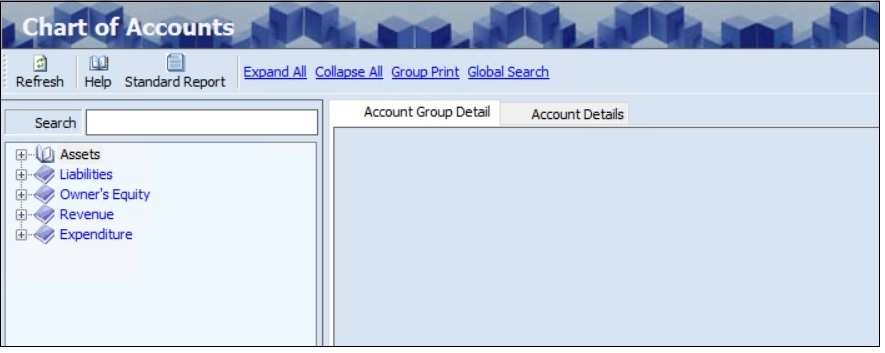
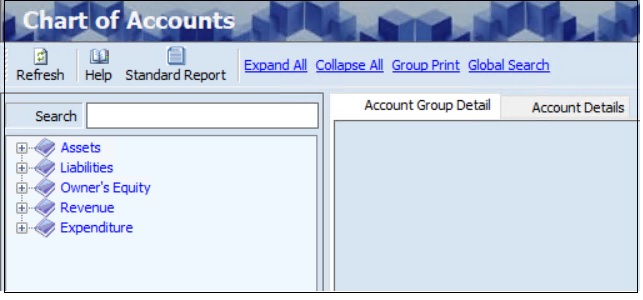
- There are five standard group types in the Chart of Accounts as mentioned below.
- Assets
- Liabilities
- Owner’s Equity
- Revenue
- Expenditure
- The groups created in the Chart of Accounts master will appear under the corresponding group type.
¶ Add Account Group Detail
The user can create a grouping of accounts under a particular Sub-Category.
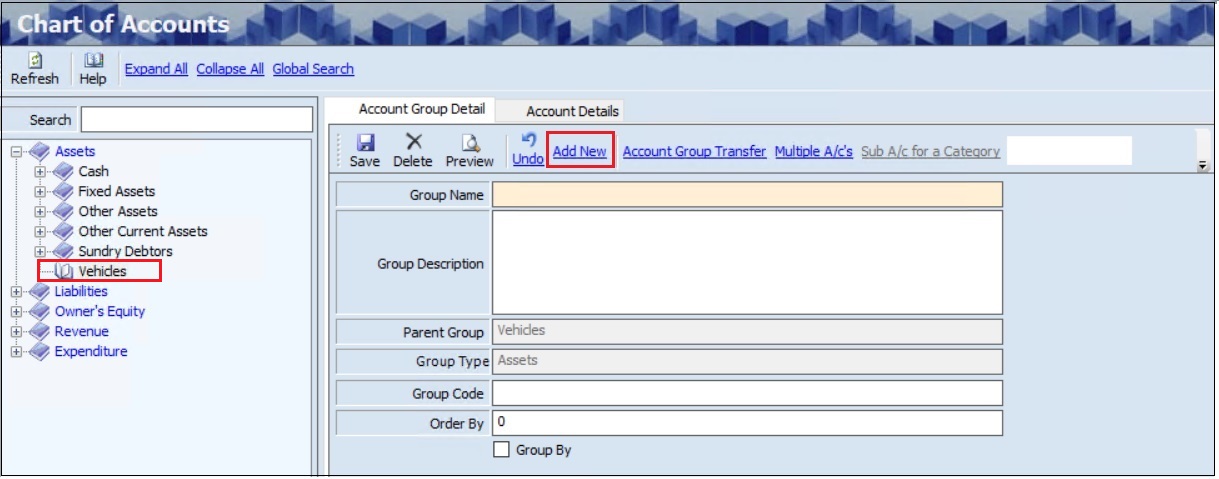
- The user must select the appropriate Group from the left panel of the screen.
- The Chart of Accounts screen is divided into two sections as mentioned below.
- Account Group Details
- Account Details
- Click the Add New link, the Parent Group (Parent group name under which the new group is created) and Group Type (the name of the group type) will appear.
- The user must enter the Group Name.
- The user can enter the Group Description, if required.
- The user can enter the Group Code, if required.
- The user can edit the Order by (Order By is used to sort the listed groups based on the numbers assigned to them. Zero indicates that the group appears at the top of the corresponding group list), if required.
- The user can select the Group By checkbox if it is a Parent Group.
- Click Undo, to reverse or cancel the last changes made to the group details if required.
- Click Multiple A/C's link, to view the list of accounts linked with the group if required.
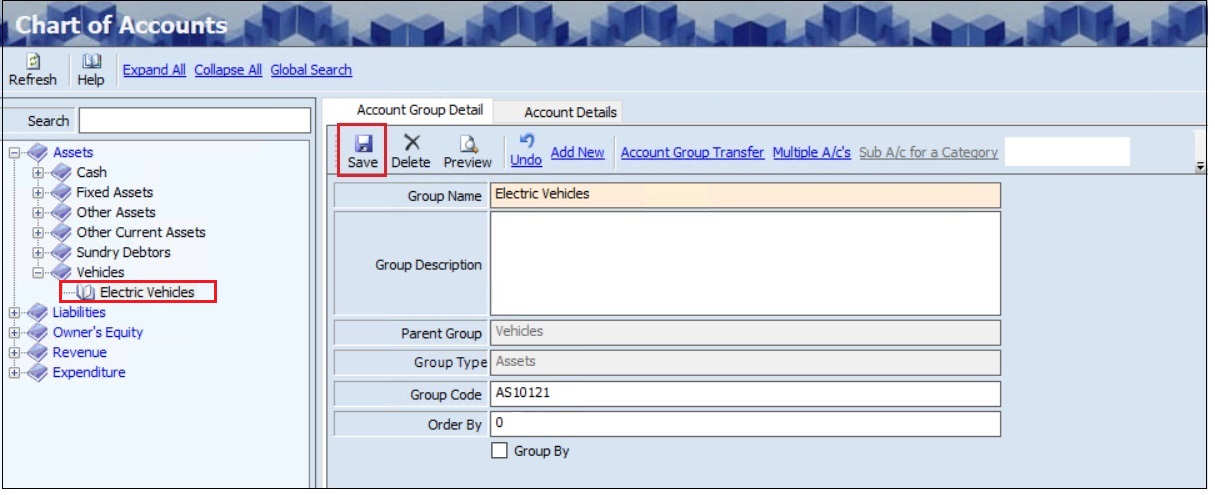
- Click the Save, the added group will appear on the left panel of the screen.
¶ Account Group Transfer
The Account Group Transfer link allows the user to transfer a particular account group from one group to another.
- The user can search for account details based on the Group Name.
- The user must select the appropriate Account Group Name from the left panel of the screen.
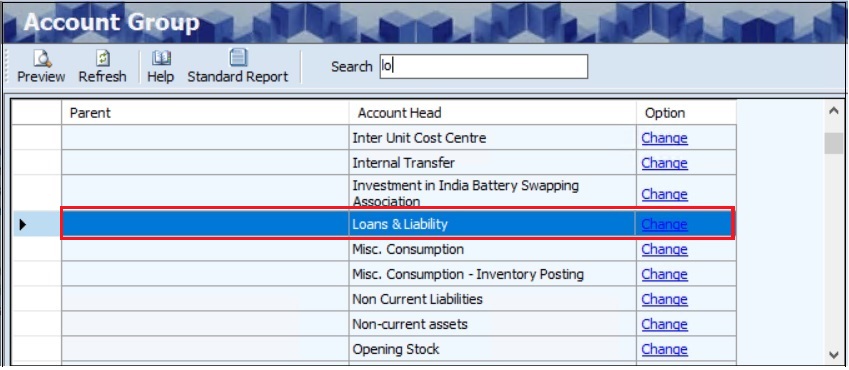
- Click the Account Group Transfer link and the following screen will appear.
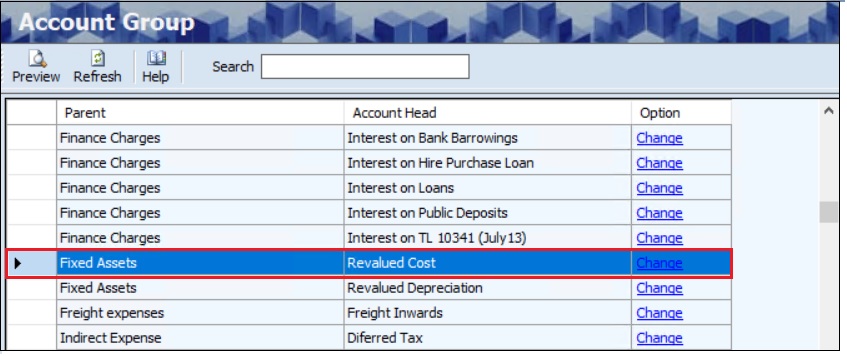
- The user must select the appropriate To Group for transfer.
- Click on the Change link to change the Group, the following message will appear.
- Click Yes, the changed group will appear on the left panel of the screen.
¶ Add Account Detail
The Account Details screen allows the user to add the account or ledger details.

- The user can search for account details based on the Group Name.
- The user must select the appropriate Account Group Name from the left panel of the screen.
- The Account Details tab allows the user to add account details in two sections, as mentioned below.
- Details
- Additional Details
- The user can select the appropriate View from the drop-down list.
- The user must enter the Account Name to add a new account or ledger.
- The user can enter the Description and Account Code if required.
- The user can select either Debit (Dr) or Credit (Cr) option for the account, based on account nature (e.g., Assets usually have a Debit balance, Liabilities have a Credit balance).
Note: The user defines the account details for the group once during account creation instead of selecting them for each transaction.
- The user can select the appropriate Report Type (PLBS) from the drop-down list.
- The user can select the Debit and Credit for the report group according to the PLBS formats from the drop-down list.
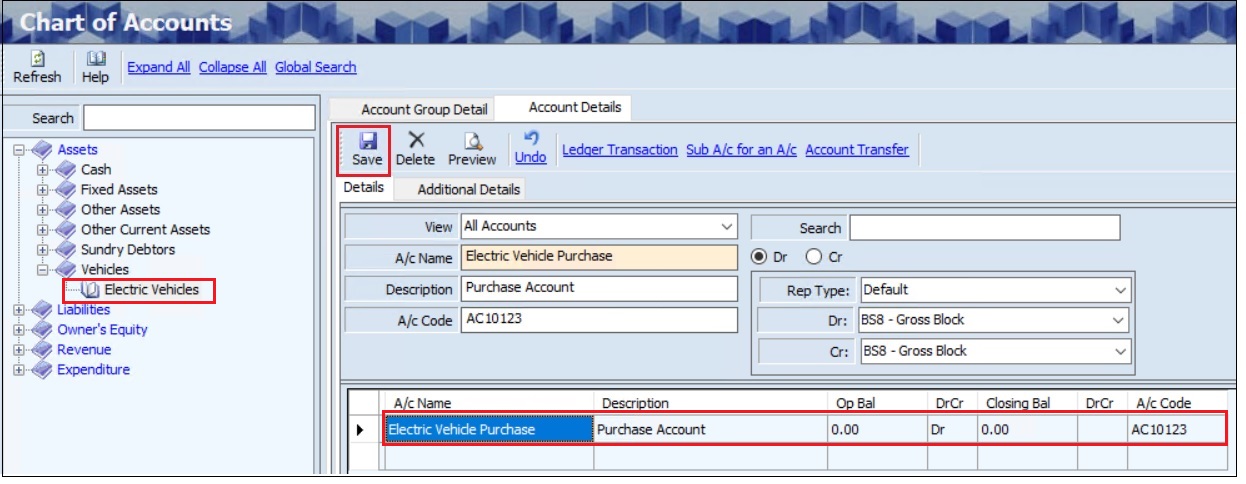
- Click Save, the Account Name, Description, Opening Balance, Debit or Credit, Closing Balance, Debit or Credit and Account Code will appear in the Account Details section.
- The user can deactivate an active account or ledger, if required.
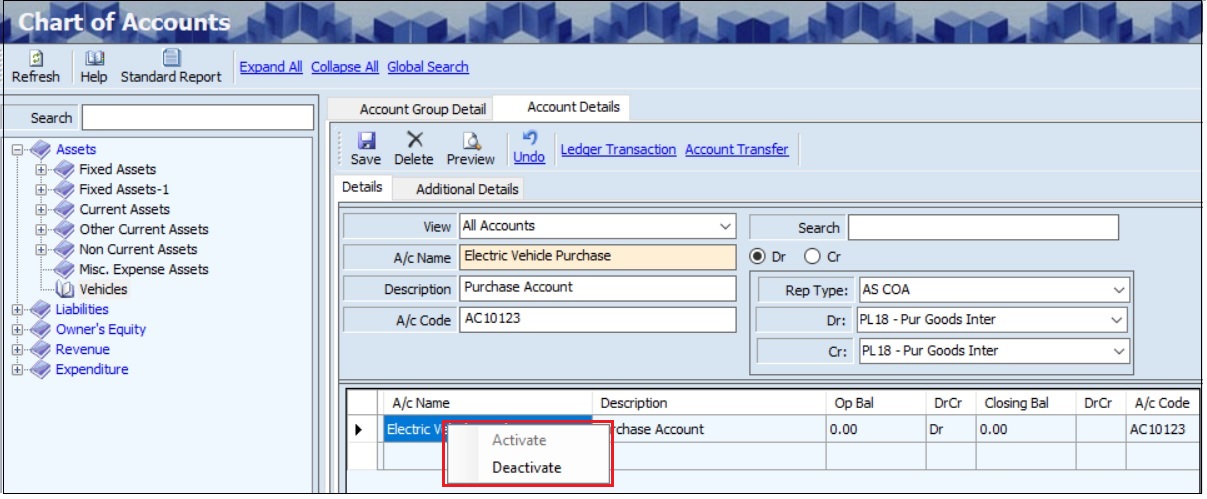
- The user must right-click on the account name and select Deactivate to deactivate the particular account.
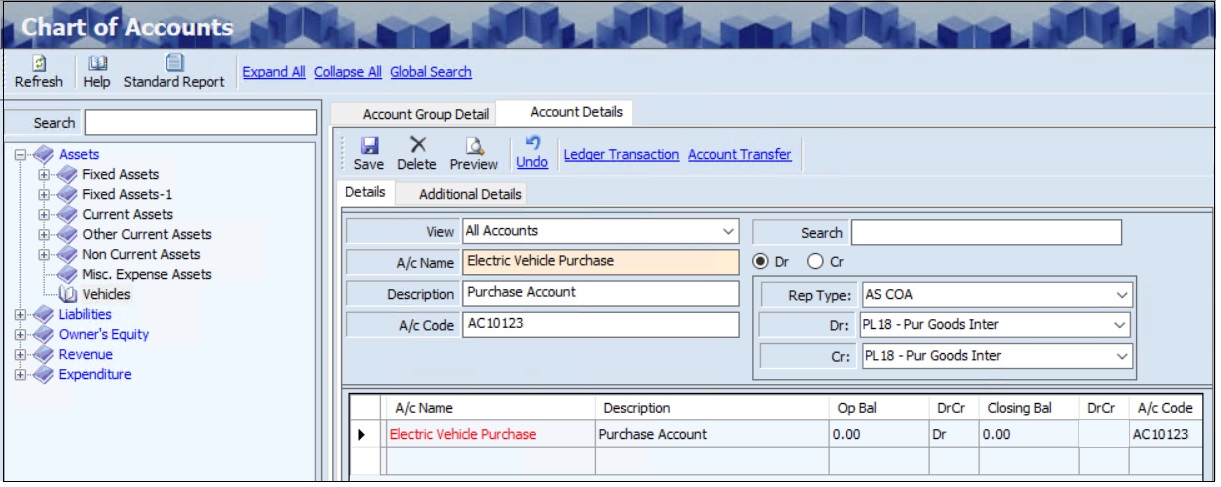
- When the account is deactivated, the Account Name displays in red colour as shown above.
- The user can select Activate to activate a deactivated Account Name or Ledger.
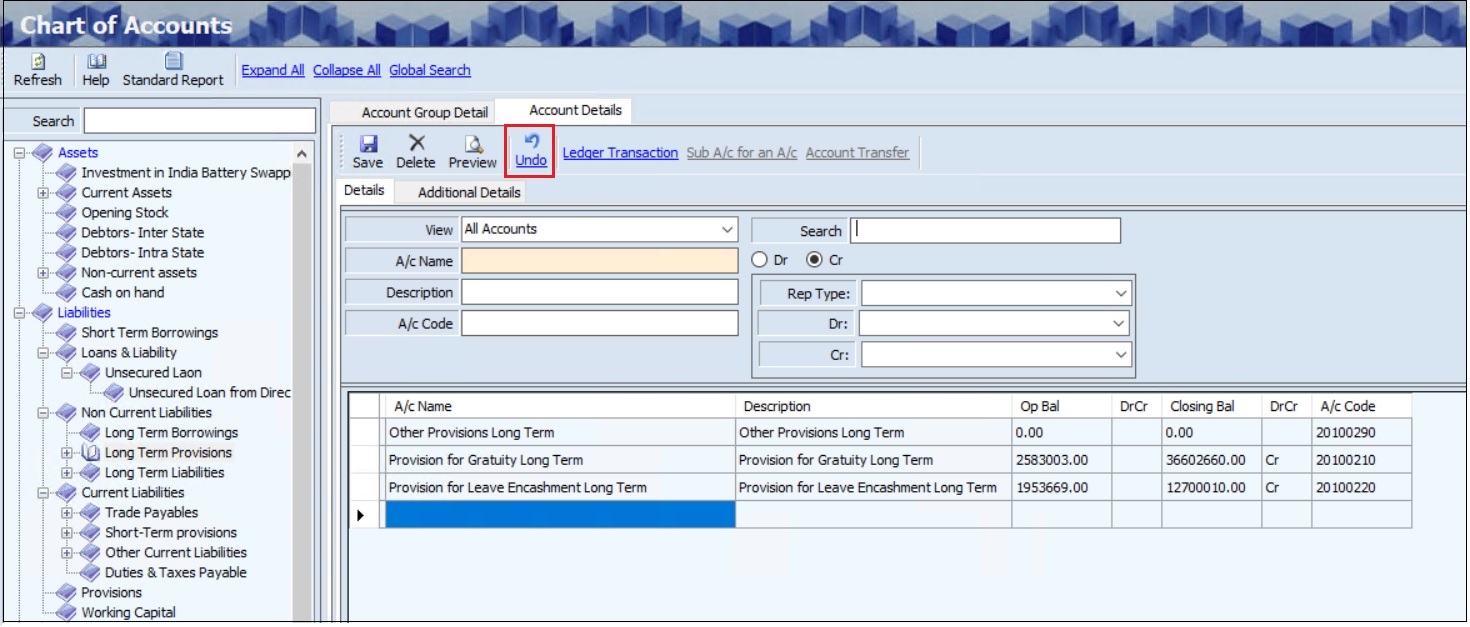
¶ Undo
The Undo option allows the user to reverse or cancel the last changes made to the account settings, such as the creation, modification, or deletion of accounts.
¶ Delete Account Detail
The Delete option allows the user to delete the added or existing account or ledger details if there is no associated transaction corresponding to the specified account.
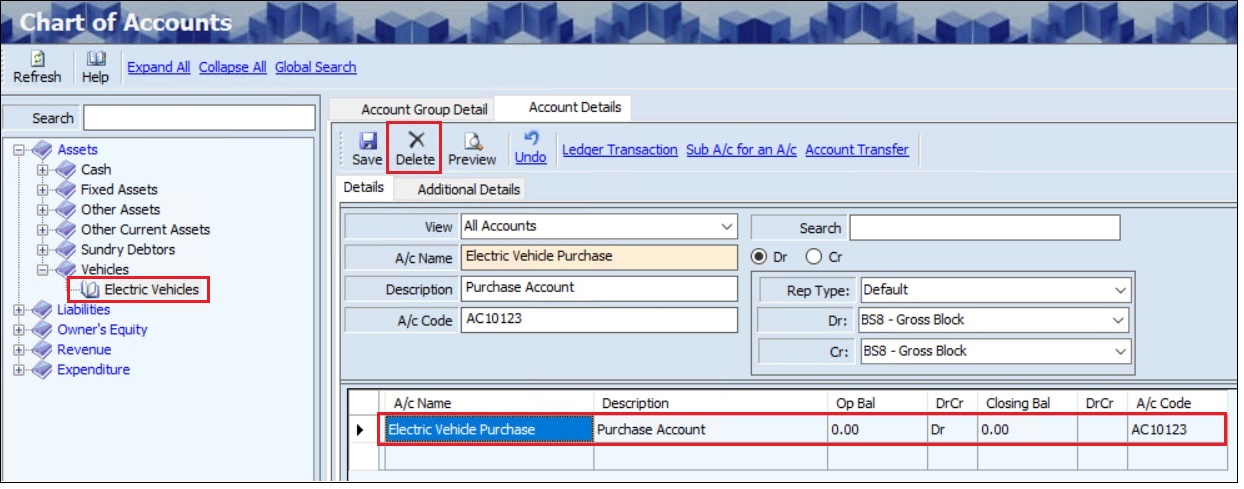
- The user must select the appropriate Category or Subcategory and Account Group from the left panel of the screen.
- Once the user selects the Account Group, the Ledgers / Account Details will appear in the Account Detail tab.
- The user must select the appropriate Account Name.
- Click Delete, the following message will appear.
- Click Yes, to delete the account details.
¶ Preview Account Detail
The Preview option allows the user to view and print the created or existing account (ledger) details.
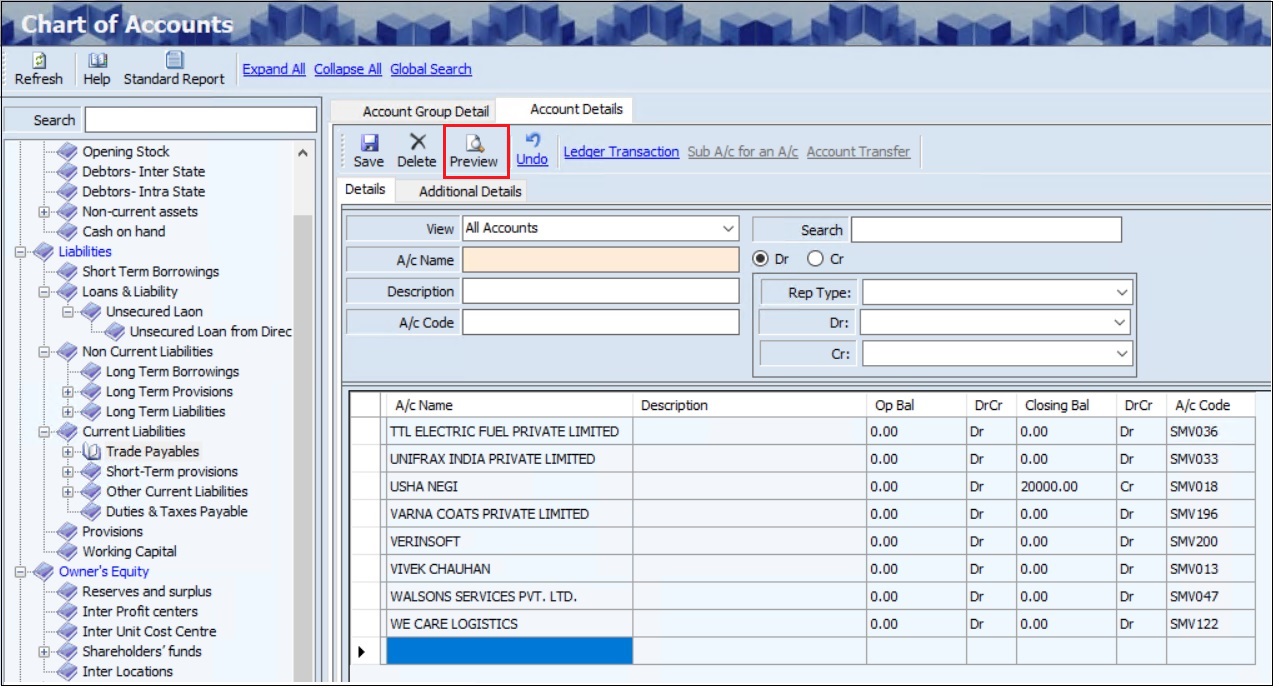
- The user must select the appropriate Category or Subcategory and Account Group from the left panel of the screen.
- Once the user selects the Account Group, the Ledgers / Account Details will appear in the Account Detail tab.
- Click Preview, the following screen will appear.
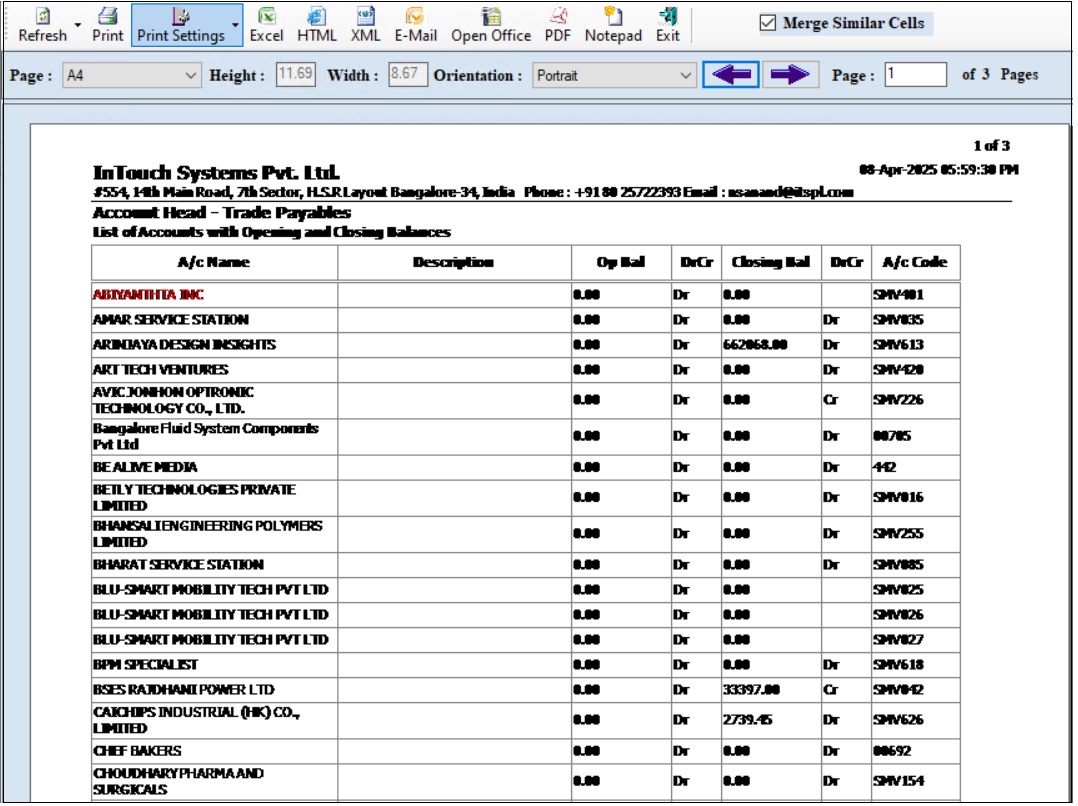
- Click Print, to print documents.
- Click Preview, to view details before printing.
- The user can view details in Excel, HTML, Open Office, PDF and Notepad format.
- Click Email, the following screen will appear.
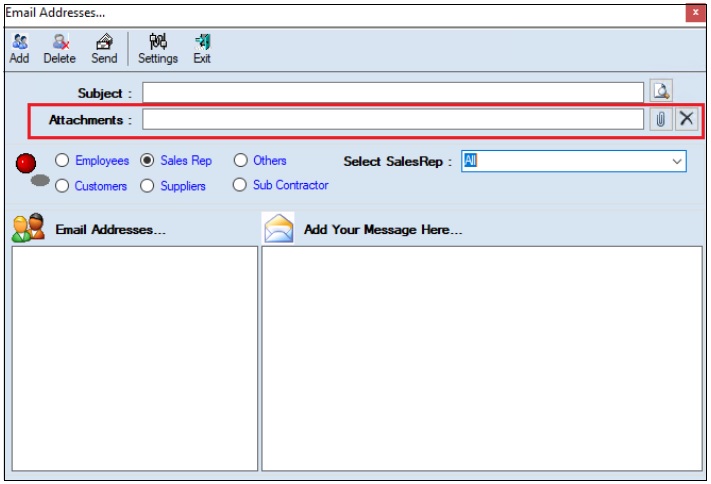
- The user must enter the Subject.
- The user can upload multiple attachments if required.
- The user can delete the uploaded attachments if required.
- The user must select one of the options from Employees, Customers, Sales Rep, Suppliers, Subcontractors or Others.
- Once the user selects the appropriate option, the corresponding Email IDS will appear in the Email Address section.
- The Add Your Message Here section allows the user to add messages.
- Click Send, to send emails.
- Click Add, to add the new email address.
- Click Delete, to remove the selected mail ids.
- Click Settings, the following screen will appear.
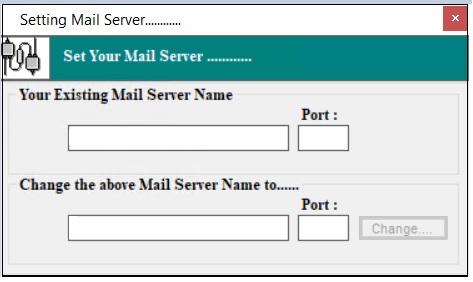
- The user must enter details of the Your Existing Mail Server Name, Port (Existing), Change the above Mail Server Name To and Port (New).
- Click Change.
¶ Account Transfer
The Account Transfer link allows the user to transfer a particular account (ledger) detail from one group to another.
- The user must select the appropriate Account Group Name from the left panel of the screen.
- Click the Account Transfer link, the following screen will appear.
- The user can select the appropriate To Group for transfer.
- Click Change, the following message will appear.
- Click Yes, the changed group will appear on the left panel of the screen.
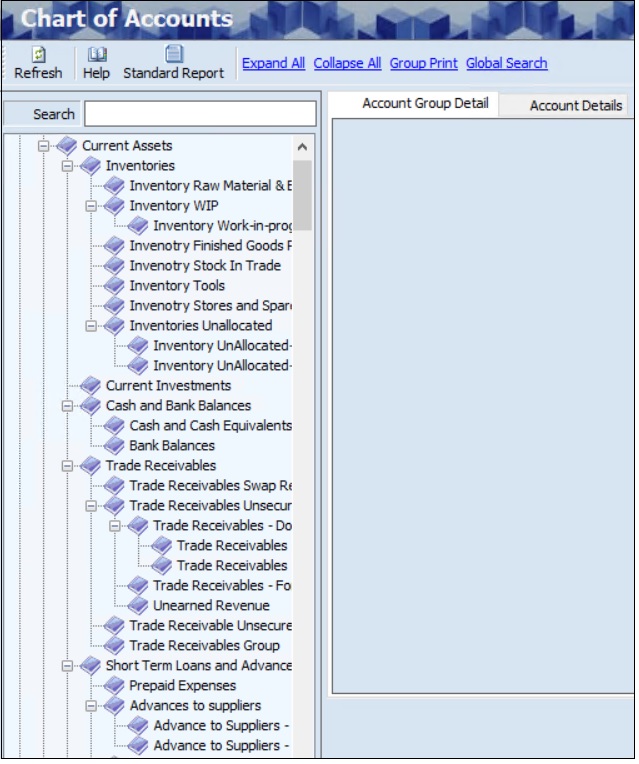
¶ Expand All
The Expand All link allows the user to view the full account hierarchy at once. It shows all accounts, sub-accounts, and their details, making it easier to navigate, manage accounts, and get a complete overview.

- Click the Expand All link, the following screen will appear.
¶ Collapse All
The Collapse All link allows the user to simplify the view by hiding all sub-accounts and displaying only the main accounts. This makes it easier to navigate and manage the overall account hierarchy, especially when dealing with many accounts.

- Click the Collapse All link, the following screen will appear.
¶ Global Search
The Global Search link allows the user to search for specific accounts, sub-accounts, or groups within a large account hierarchy.

- Click the Global Search link, the following screen will appear.
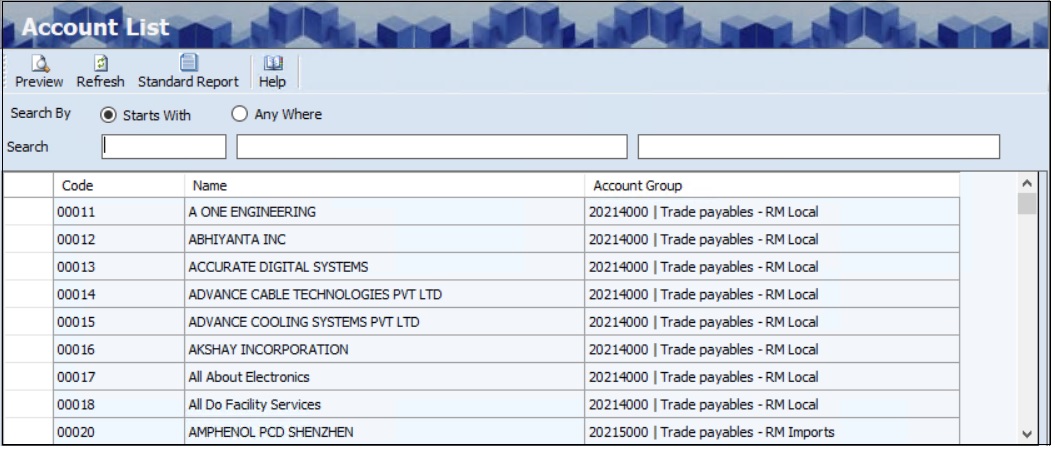
- The user can search the account list based on Code, Name, or Account Group.
¶ Functional Use Cases
| Sl. No. | Use Case | Business Scenario | Functional Outcome in ERP |
|---|---|---|---|
| 1 | Create account group | The organization wants to organize financial accounts under categories like Assets, Liabilities, Income, and Expenses. | The ERP allows users to define account groups to structure the chart of accounts effectively. |
| 2 | Add new ledger account | A company introduces a new expense head, such as “Internet Charges.” | The ERP enables the creation of new ledger accounts under the correct account group. |
| 3 | Assign account to group | Each ledger must belong to a specific account group for clarity and classification. | The ERP ensures that all ledgers are grouped properly to support structured reporting. |
| 4 | View inactive ledgers | Finance users want to identify accounts that are no longer in use. | The ERP displays inactive accounts in red and prevents new transactions against them. |
| 5 | Edit existing account details | A ledger name or group assignment needs to be updated. | The ERP allows authorized users to edit ledger descriptions or reassign groups. |
| 6 | Track ledger creation and changes | The audit team needs to verify who created or modified a ledger. | The system maintains an audit trail of all account creations and modifications. |
| 7 | Export Chart of Accounts | Management requests a full list of ledgers for review or audit. | The ERP allows exporting the chart of accounts in Excel or PDF format. |
| 8 | Link Accounts to Profit & Loss/ Balance Sheet | The finance team needs to link accounts to Profit and Loss or Balance Sheet. | The ERP allows linking accounts to the Profit & Loss/ Balance Sheet. |
¶ Use Case Scenario
- Click here for a detailed use case scenario for the Chart of Accounts transaction.
¶ Transaction Checklist
| Steps | Checklist Item | Details / Purpose |
|---|---|---|
| 1. Setup Preparation | Identify required account heads | Determine all necessary account types (Assets, Liabilities, Income, Expenses) |
| Define grouping structure | Plan parent-child hierarchy for organized account structure | |
| Assign default nature (Dr/Cr) | Ensure each account has a correct default balance type | |
| 2. Account Creation | Create account groups | Define main categories like Current Assets, Operating Expenses, etc. |
| Create ledger accounts | Add individual accounts under respective groups | |
| Set account type and category | Classify account as General, Bank, Cash, Vendor, Customer, etc. | |
| Mark parent account if applicable | Establish hierarchy for roll-up and reporting | |
| 3. Validation | Verify account code and name | Ensure codes are unique and naming is consistent |
| Check Group By and Order By setup | Validate proper sorting and grouping for reporting | |
| Review module-level usage restrictions | Confirm where each account can be used (e.g., Purchase, Sales, Payroll) | |
| 4. Maintenance | Deactivate unused or obsolete accounts | Mark inactive accounts to prevent future use |
| Highlight deactivated accounts visually | Ensure deactivated accounts appear in red or flagged appropriately | |
| Modify account details when needed | Update account settings, description, or grouping if required | |
| 5. Audit & Reporting | Ensure account audit trail is maintained | System captures creation, edits, and user actions |
| Run Chart of Accounts report | Generate and verify account hierarchy and ledger listing |